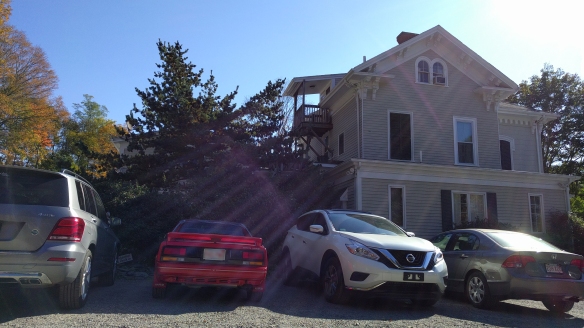
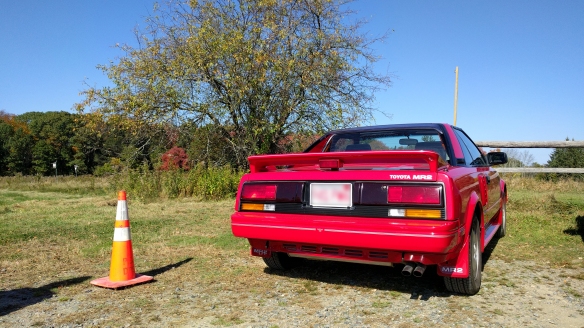
One of the annual traditions of living in colder climates subject to snow (and more importantly, salt) is winter storage. I have performed the same basic routine every winter since 2011 and every spring the car starts right up with no appreciable increase in deterioration. The steps listed below are based off of a November 2011 article in Car and Driver by Tony Quiroga, some googling, as well as a section in Popular Mechanics “Complete Car Care Manual” (ISBN 978-1-58816-723-1).
Step 1: Go for a drive! Pick a nice day and do a decent drive (30-40 miles, or about 1 hour or so) to get the car up to temperature. Optional: change the engine oil and filter before the drive.
Step 2: Get some gas. Go to your favorite station and fill up the tank. I typically use premium due to the additional additives that help improve the storage life of the fuel. A full tank of fuel displaces air (which contains moisture) that can cause fuel system corrosion.
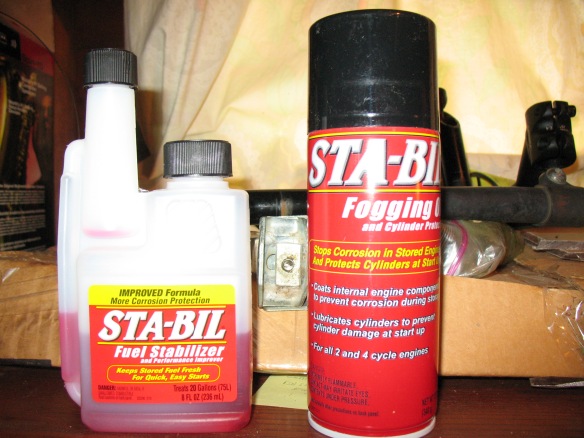
Step 3: Add fuel stabilizer in the proper amount to the tank to keep the gasoline fresh and to prevent gumming and varnish formation. For reference, the MKI’s tank holds 10.8 gallons of fuel. Let the car run for a few minutes to help the stabilizer and fuel mix.
Step 4: Wash and wax (and clay before waxing if needed). I use the 2 bucket method for washing. One bucket contains a mix of fresh tap water and car wash shampoo and the other just plain fresh tap water. First, hose off the car (including underneath and inside of the wheel arches). Next, using a wash mitt, wipe the car down, alternating between the soapy bucket (clean) and water bucket (dirty) to rinse the mitt off between wipes. Once the car has been gone over with the mitt and is covered in suds, rinse off with the hose and wipe dry with several micro fiber cloths (don’t forget the door jambs!).
Step 5: Before pulling into the garage, place a vapor barrier (such as a plastic painter’s drop cloth) on the floor where the car will sit if the floor is concrete or earth. This will prevent corrosion from moisture underneath. Next, pull into the garage and wax at your leisure once everything has fully dried.
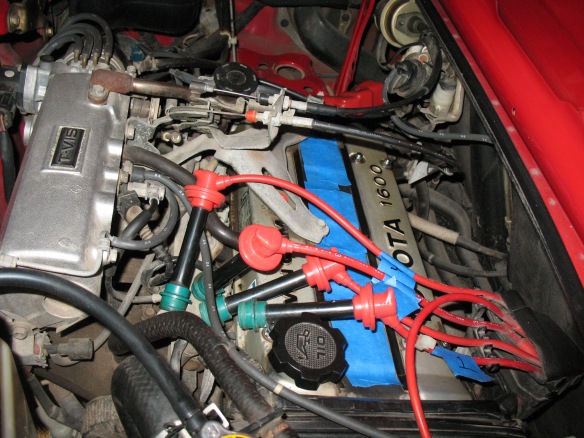
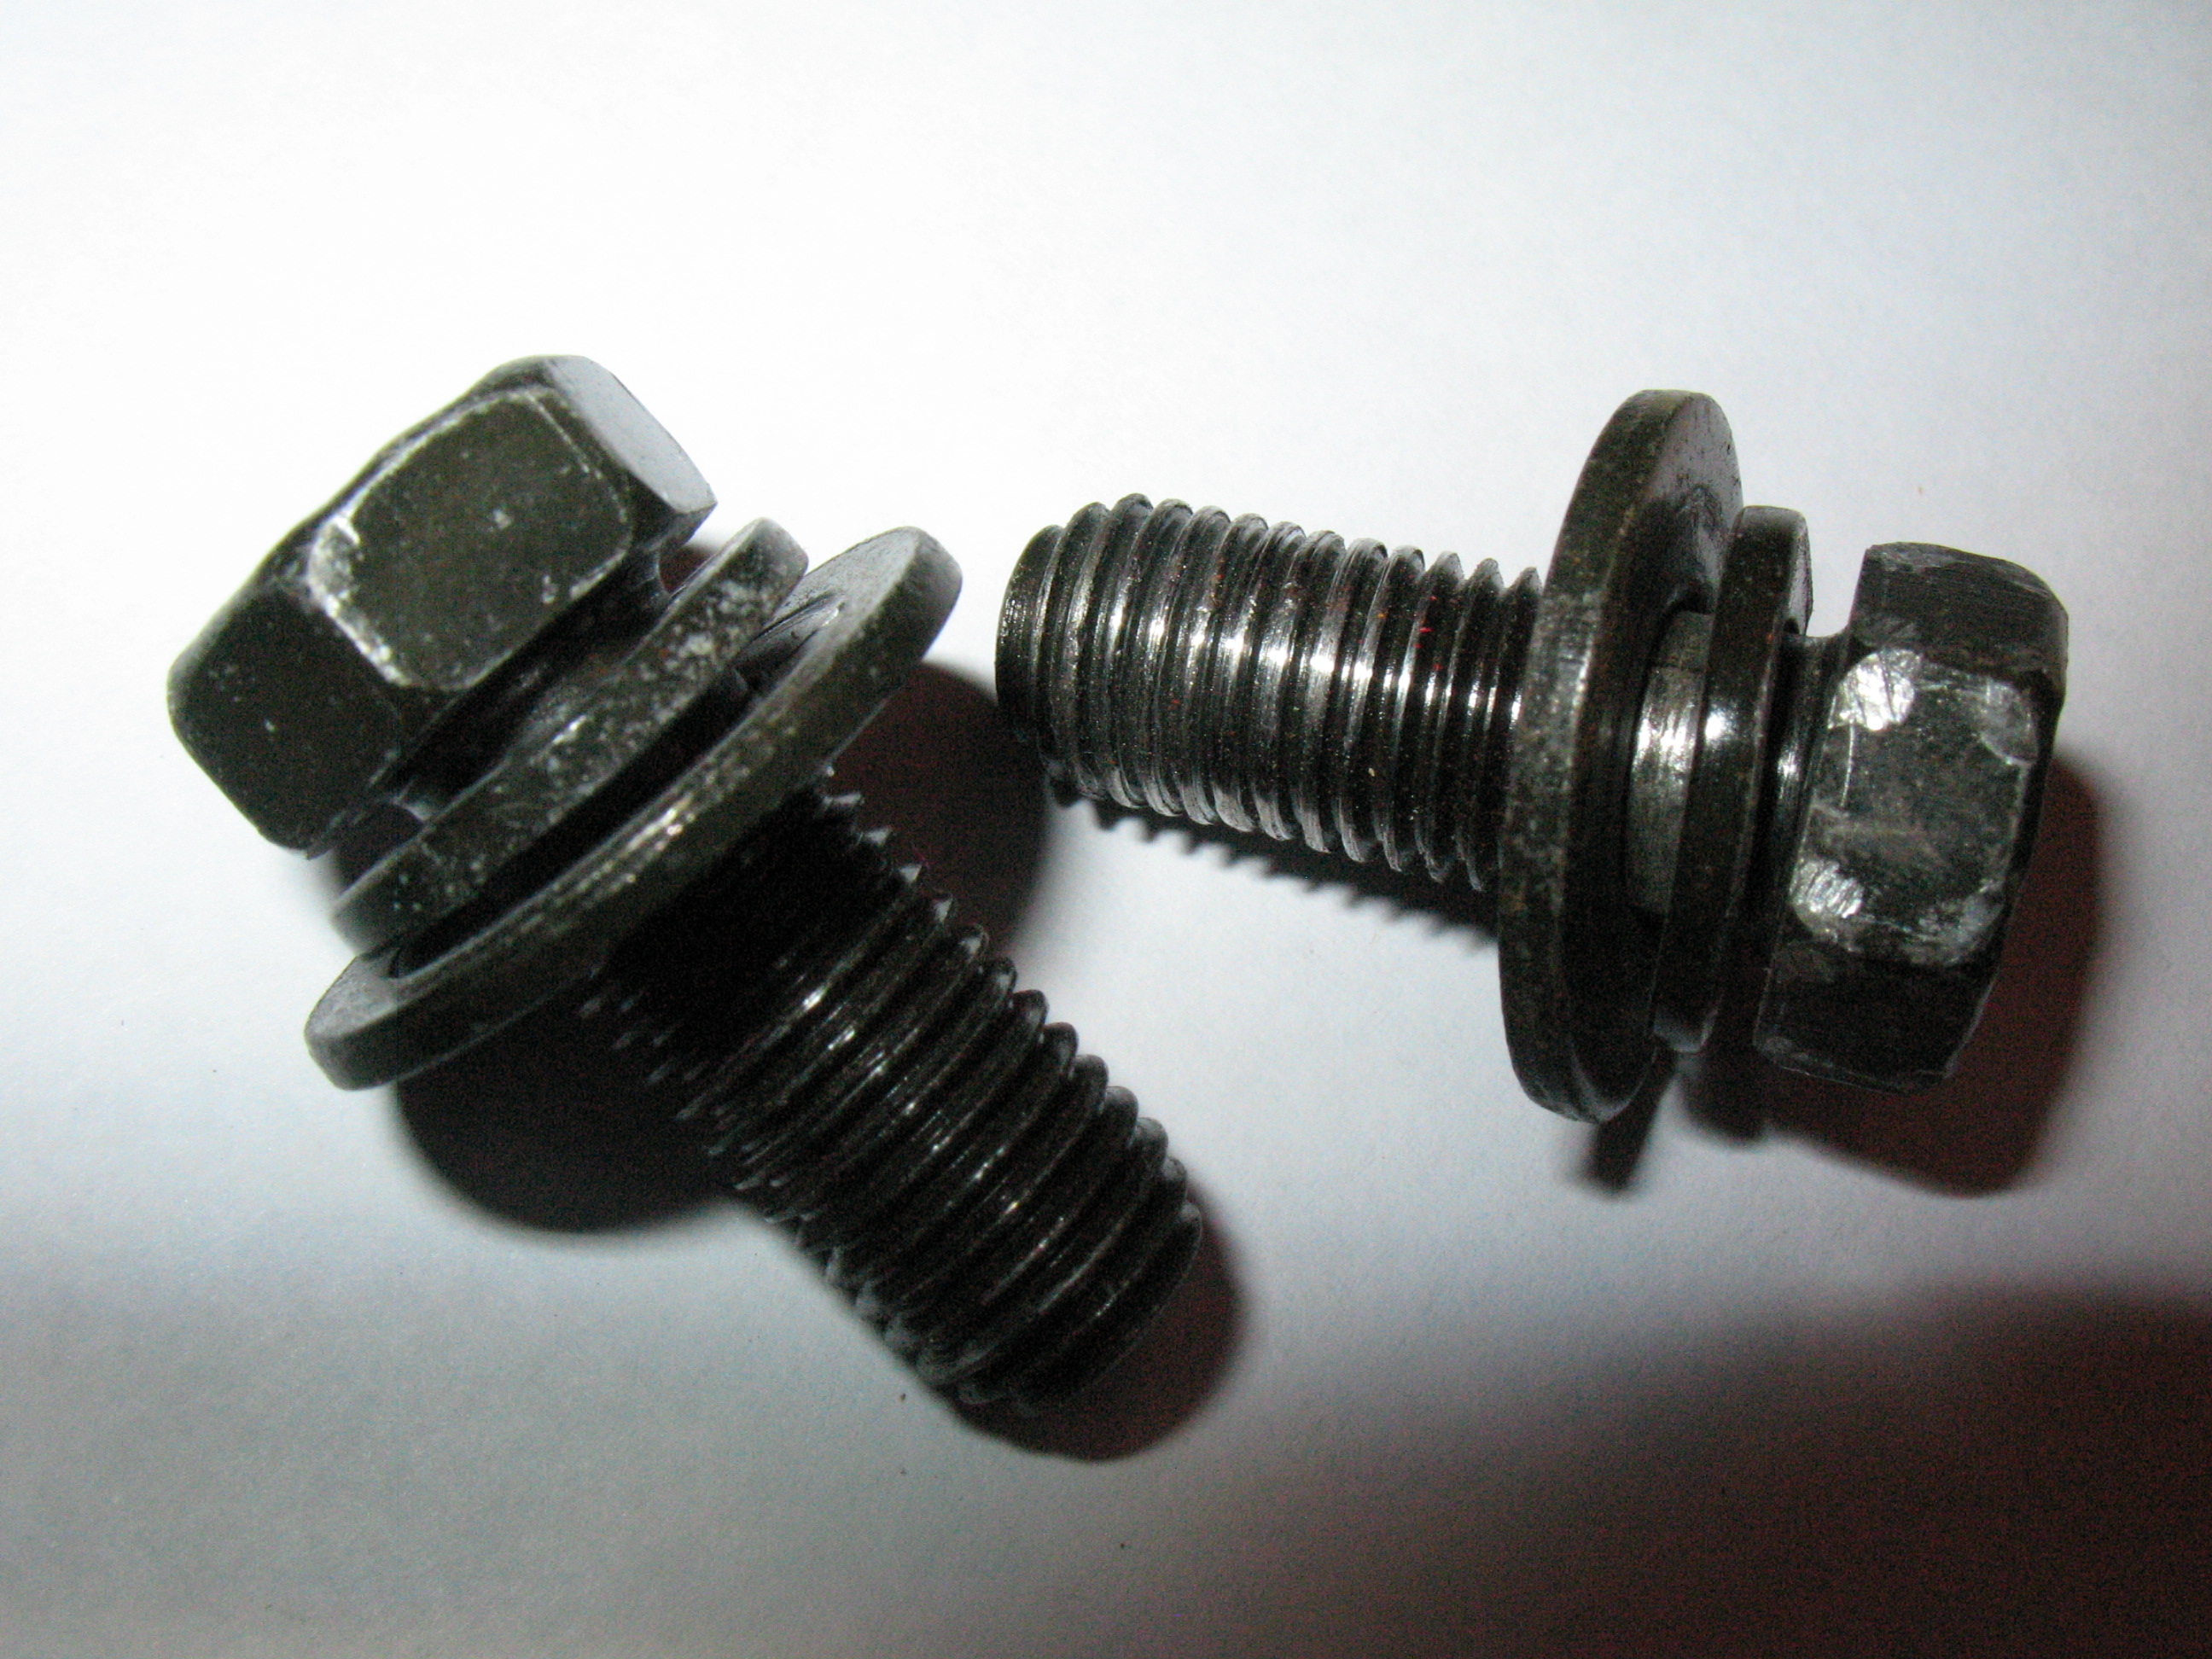
Step 6: Up next is pulling the spark plugs, spraying some fogging oil into the cylinders, and manually rotating the crankshaft to lubricate the pistons and provide corrosion protection while the engine sits over the winter. First, loosen the lug nuts on the passenger’s side rear wheel. A 13/16″ socket will do on factory lug nuts. Next, jack up the rear of the car (remember to secure the front wheels with wheel chocks before lifting) and place the rear on jack stands. With the car safely supported, remove the passenger’s side rear wheel. Next, label each spark plug wire and remove the plugs using a 5/8″ spark plug socket. Spray fogging oil into each of the cylinders.
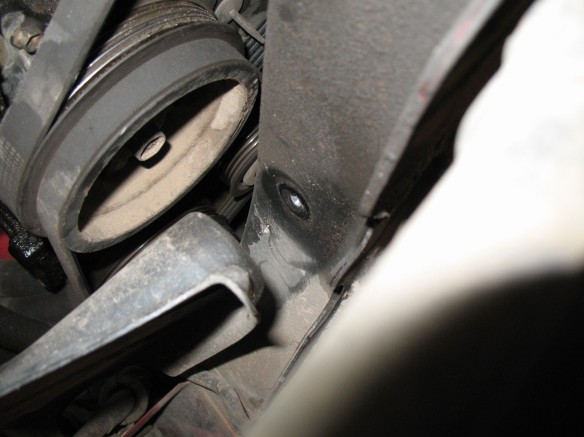 With the spark plugs still out, remove some of the fasteners holding the underbody plastic cover under the engine (10mm socket) so that the crank pulley bolt becomes accessible. Using a 17mm or 19mm socket (depending on the bolt), rotate the crankshaft CLOCKWISE a few revolutions to lubricate the pistons. Next, re-install the underbody plastic, install and torque the spark plugs to 13ft-lb (18Nm), attach the plug wires, and mount the passenger’s side rear wheel. Lower the car and torque the lug nuts to 76ft-lb (103Nm).
Step 7: Remove the battery (disconnect ground cable first), clean it with a baking soda/water mix if needed, and put it on a trickle charger such as a Battery Tender. Keeping the battery topped off in cold weather will help keep it healthy.
Step 8: Pump up the tires to 40psi to prevent flat-spotting.
Step 9: Clean and lubricate latches and hinges with oil or grease to prevent wear and corrosion.
Step 10: Break out the shop vac! Thoroughly clean out the interior, frunk, and trunk of the car to keep curious creatures from associating “snack shack” with your ride. As an added measure of deterring critters from calling your ride “home”, barricade openings such as exhaust pipes, air intakes, etc. with clean rags or aluminum foil. Also, Bounce dryer sheets have a reputation for being unsavory to our furry friends so spread a few inside (including frunk and trunk) and outside of the car in lieu of mothballs (tried that one year and the car still has hints of that unpleasant scent). Lastly, place rags between the wiper blades and windshield to prevent the rubber from sticking to the glass.
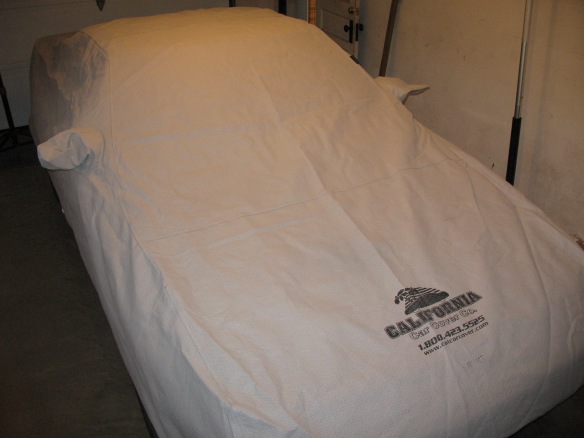
Step 11: Cover the car with a decent car cover to keep dust off. Then have a root beer, enjoy the winter, and count down the days to spring.
Optional: The guides that I’ve read also suggest flushing and changing the coolant as well as brake fluid. I’m not sure that this is necessary every year depending on mileage and use. Use your best judgement.

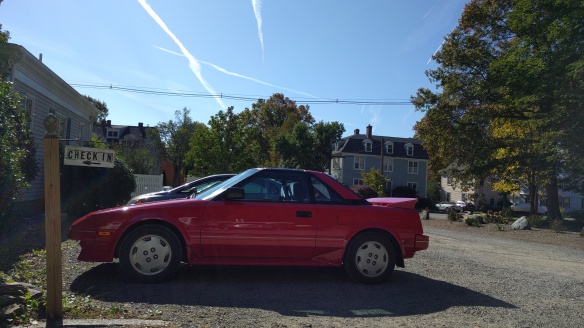
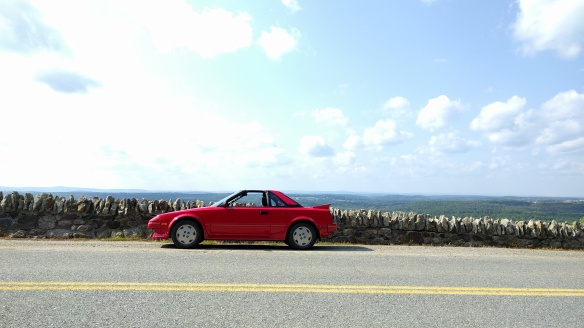
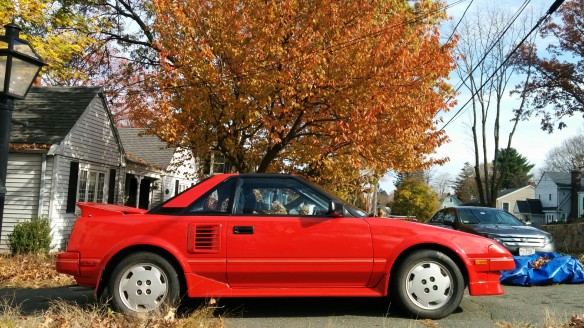
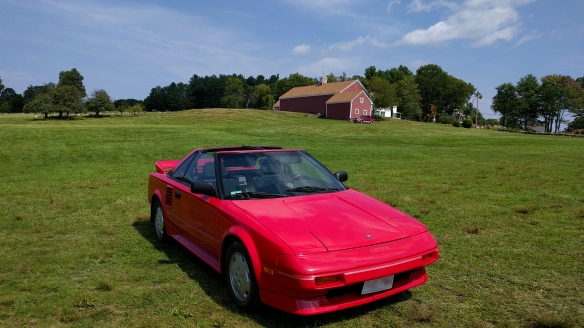 Labor Day 2017: Mr. 2, Mrs. Tu, and I treated ourselves to lunch at the beautiful Fruitlands Museum Cafe in Harvard Mass (the griddled turkey sandwich is superb, by the way). The journey was about 45 minutes of twisty local roads…with the T-tops off, of course. Many bash the T-top cars for being less structurally rigid and prone to leaking, but I am a big fan of the wind-in-your-hair, sun-in-your-face experience. It was a blast.